Portrait Lighting Basics: Understanding Light Quality and Direction
Light makes the photograph. The same person, same camera, same settings change the light, and you change everything. Understanding light is the most important skill a photographer can develop.
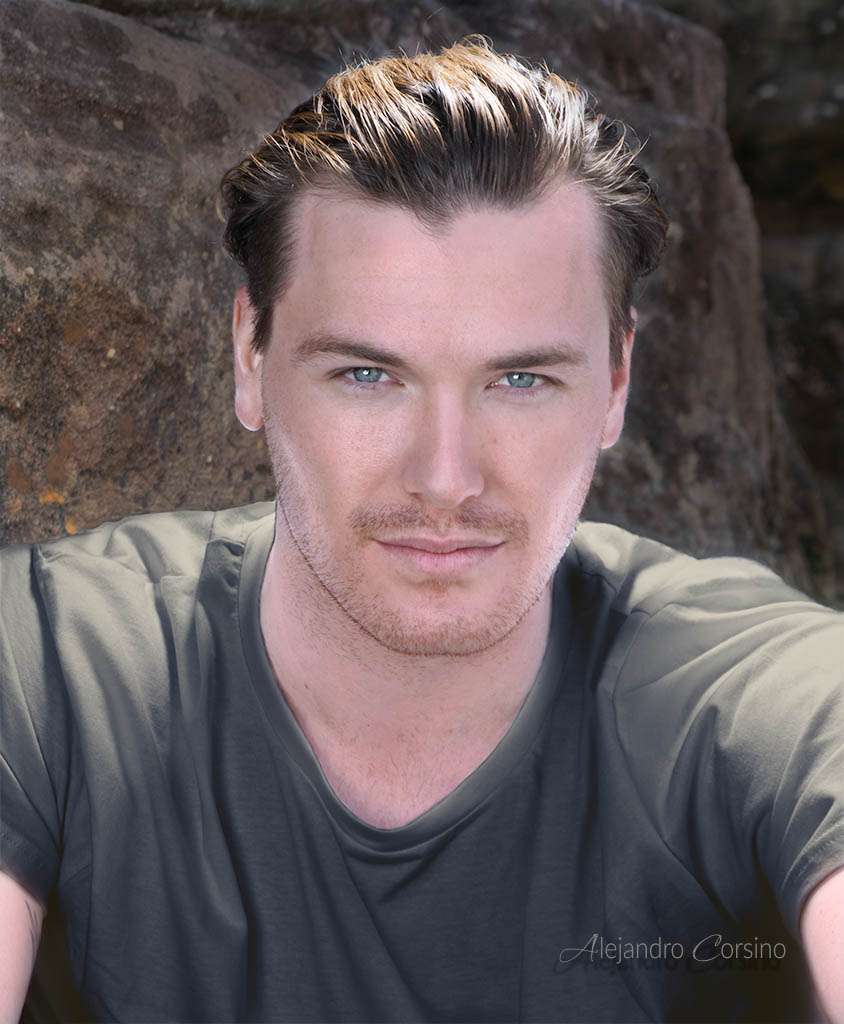
This portrait demonstrates how directional lighting creates depth and mood.
Quality of Light
Hard Light
Direct light from a small source relative to your subject. Creates sharp shadows, high contrast, dramatic effect.
Examples:
- Direct sunlight
- Bare flash
- Small LED panel
Hard light emphasizes texture. Every pore, every wrinkle, every imperfection becomes visible. This can be good (character portraits) or bad (beauty shots).
Soft Light
Light from a large source relative to your subject. Creates gradual shadow transitions, lower contrast, flattering effect.
Examples:
- Overcast sky (the clouds become a giant softbox)
- Window light (especially north-facing)
- Large softbox or diffuser
Soft light wraps around your subject, filling in shadows naturally. It's forgiving and almost universally flattering.
The Size Rule
The larger the light source relative to your subject, the softer the light. A 2-foot softbox close to someone's face produces softer light than the same softbox far away.
Direction of Light
Front Light (Flat)
Light directly in front of the subject. Minimizes shadows and texture. Safe but can look flat and lifeless.
Use when: You want to minimize skin texture or need even illumination for commercial work.
Side Light (Dramatic)
Light from 90 degrees to one side. Half the face is lit, half in shadow. Creates dimension and drama.
Use when: You want character, mood, or artistic effect.
45-Degree Light (Rembrandt)
The classic portrait angle. Creates a triangle of light under the shadowed eye. Named after the painter who used it extensively.
Use when: You want flattering but interesting light for most portraits.
Back Light (Rim/Silhouette)
Light from behind the subject. Creates separation from background, can produce silhouettes or dramatic rim lighting.
Use when: You want atmosphere, separation, or artistic silhouettes.
Top Light (Overhead)
Light from above. Creates shadows under eyes, nose, and chin. Often unflattering unless modified.
This is noon sunlight. Usually the worst time to shoot outside.
Working with Natural Light
Golden Hour
The hour after sunrise and before sunset. Warm, soft, directional light that makes everyone look good.
- Long shadows add dimension
- Warm tones flatter skin
- Lower angle provides directional light
Open Shade
Find shade on a sunny day. You get soft, even illumination without harsh shadows.
Watch for color casts. Shade under trees can be green. Shade near colored buildings picks up that color.
Window Light
A window is a ready-made softbox. The larger the window, the softer the light.
Position your subject at 45 degrees to the window for classic portrait lighting. Use a white reflector on the shadow side to fill if needed.
Overcast Days
The entire sky becomes a softbox. Great for portraits soft, even light everywhere.
The catch: it can look flat. Add a reflector from below to create some direction.
Basic Artificial Lighting
One-Light Setup
You only need one light to start.
Key light at 45 degrees, 45 degrees up
This classic position works for most faces. Adjust based on your subject's features.
Modifiers make the difference
A bare speedlight is harsh. Add a:
- Umbrella (cheapest option)
- Softbox (more controlled)
- Beauty dish (punchy but soft)
Fill Light vs. Reflector
You can fill shadows with:
- A second light at lower power
- A reflector bouncing your key light
Reflectors are cheaper and easier to position. White for subtle fill, silver for stronger fill.
Common Mistakes
Too Much Light
More light isn't always better. Flat, even lighting looks amateur. Embrace shadows.
Light Too High
Creates raccoon eyes (dark eye sockets). Lower your light or have the subject look up slightly.
Mixed Color Temperature
Tungsten, daylight, and fluorescent all have different colors. Mixing them creates unfixable color casts.
Either gel your lights to match ambient, or overpower ambient with your artificial light.
Ignoring Background
Light doesn't just hit your subject. Watch what it does to the background. Unwanted shadows or hot spots can ruin an otherwise good portrait.
Practical Exercise
Sit someone by a window on a sunny day. Photograph them:
- Facing the window (front light)
- Window to the side (side light)
- 45 degrees to the window (Rembrandt)
- Back to the window (rim light/silhouette)
Notice how different each looks. Same person, same camera, completely different moods.
Then add a white piece of foam core as a reflector. See how it changes the shadow side.
Final Thoughts
Good photographers see light before they see subjects. When you walk into a room, notice where the light sources are, what quality they produce, how they interact.
With practice, you'll instinctively position people in the best light without thinking. Until then, slow down and observe.
The gear matters less than you think. The light matters more than you realize.