Mastering Dodge and Burn for Portrait Retouching
Dodge and burn is the oldest trick in the retouching book, dating back to the darkroom days. It remains the most powerful technique for refining portraits. Done well, it's invisible. Done poorly, it looks like face paint.
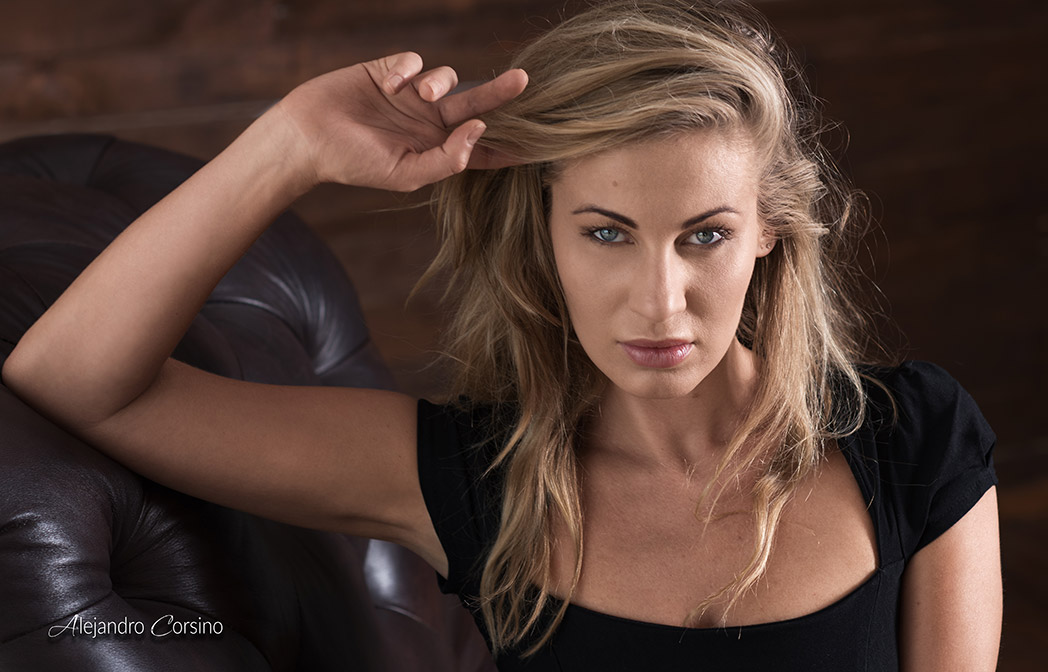
Subtle dodge and burn work enhances the natural light and shadow in portraits like this one.
What Is Dodge and Burn?
Dodging makes areas lighter (originally: holding back light during printing) Burning makes areas darker (originally: giving more exposure to specific areas)
By selectively lightening and darkening, you can:
- Even out skin tones
- Sculpt facial features
- Add dimension and depth
- Guide the viewer's eye
The Non-Destructive Setup
Never dodge and burn directly on your image. Use layers.
Method 1: 50% Gray Layer
- Create a new layer
- Fill with 50% gray (
Edit > Fill > 50% Gray) - Set blend mode to Soft Light (subtle) or Overlay (stronger)
- Paint with white to lighten, black to darken
Method 2: Curves Layers
More control over tonal response:
- Create a Curves adjustment layer
- Lift the curve (lightening)
- Fill the mask with black (hiding the effect)
- Duplicate and lower the curve (darkening)
- Paint white on masks to reveal effects
The curves method lets you adjust intensity after the fact.
The Tools
Brush Settings
For skin work:
- Hardness: 0% (always soft edges)
- Opacity: 5-15% (build gradually)
- Flow: 100%
- Pressure sensitivity: Enable if using a tablet
Low opacity is critical. Building up gradually prevents obvious strokes.
Zooming
Work at 100% zoom for skin detail, zoom out frequently to check overall effect. What looks good close up might look strange at normal viewing distance.
Micro Dodge and Burn (Skin)
This fixes individual blemishes and evens skin texture.
What to Look For
- Dark spots (dodge them lighter)
- Light spots (burn them darker)
- Red patches (often appear darker, may need dodging)
- Under-eye darkness
- Smile lines
- Nasolabial folds
The Process
- Zoom to 100%
- Use a small brush (slightly larger than the imperfection)
- Paint a few strokes, check the result
- Move to the next area
- Zoom out periodically
Work systematically: forehead, then eyes, nose, cheeks, mouth, chin.
Reference Layer Trick
Add a Black & White adjustment layer on top (don't flatten). This removes color distraction and makes tonal inconsistencies obvious. Toggle it off to check your work.
Macro Dodge and Burn (Contouring)
This shapes facial structure and adds dimension.
Highlight Areas
Generally dodge:
- Bridge of nose
- Cheekbone tops
- Brow bone
- Center of forehead
- Center of chin
- Cupid's bow
Shadow Areas
Generally burn:
- Under cheekbones
- Sides of nose
- Hairline
- Jawline definition
- Temple areas
The Key: Follow the Light
Don't invent new lighting. Enhance what's already there. Study where the light falls naturally and amplify those patterns.
Common Mistakes
Going Too Far
The most common error. Symptoms:
- Skin looks painted
- Face looks muddy or dirty
- Features look exaggerated
Prevention: Work at low opacity, take breaks, check at different zoom levels.
Inconsistent Brush Size
Using the same brush size everywhere creates an artificial look. Vary your brush size based on the area:
- Small for fine skin detail
- Medium for contouring
- Large for overall light shaping
Ignoring the Edges
Don't stop abruptly at the face boundary. Feather your work into the hair, neck, and clothing for natural transitions.
Forgetting the Body
If shoulders, hands, or arms are visible, they need attention too. Inconsistent skin between face and body looks strange.
Checking Your Work
- Toggle layers: Hide your D&B layers to see before/after
- Invert the gray layer: Temporarily invert (Ctrl/Cmd+I) to see exactly where you've painted
- Check at export size: What looks good at 100% might be invisible at web size
- Fresh eyes: Step away, come back later
Speed Tips
Create an Action
Record your layer setup as an action with a keyboard shortcut.
Use Tablet Pressure
A graphics tablet with pressure sensitivity is almost essential. Pressing harder = more opacity. Much more natural than clicking.
Work in Passes
First pass: major corrections Second pass: refinements Third pass: final polish
Each pass should be gentler than the last.
The Philosophy
The goal isn't to make someone look different. It's to present them in their best light, literally. Think of yourself as enhancing the lighting that was already there.
Study classical painting. Rembrandt, Vermeer, Caravaggio they understood light and shadow. Their techniques still apply to modern portraiture.
Dodge and burn takes practice. Your first attempts will be too heavy-handed. That's okay. With time, you develop the restraint that separates amateur retouching from professional work.