Creating Natural HDR Photos in Photoshop
HDR gets a bad reputation because it's often overdone. Halos, oversaturation, that crunchy look that screams "I used HDR!" But done right, HDR simply captures what your eyes actually see detail in both shadows and highlights that a single exposure can't capture.
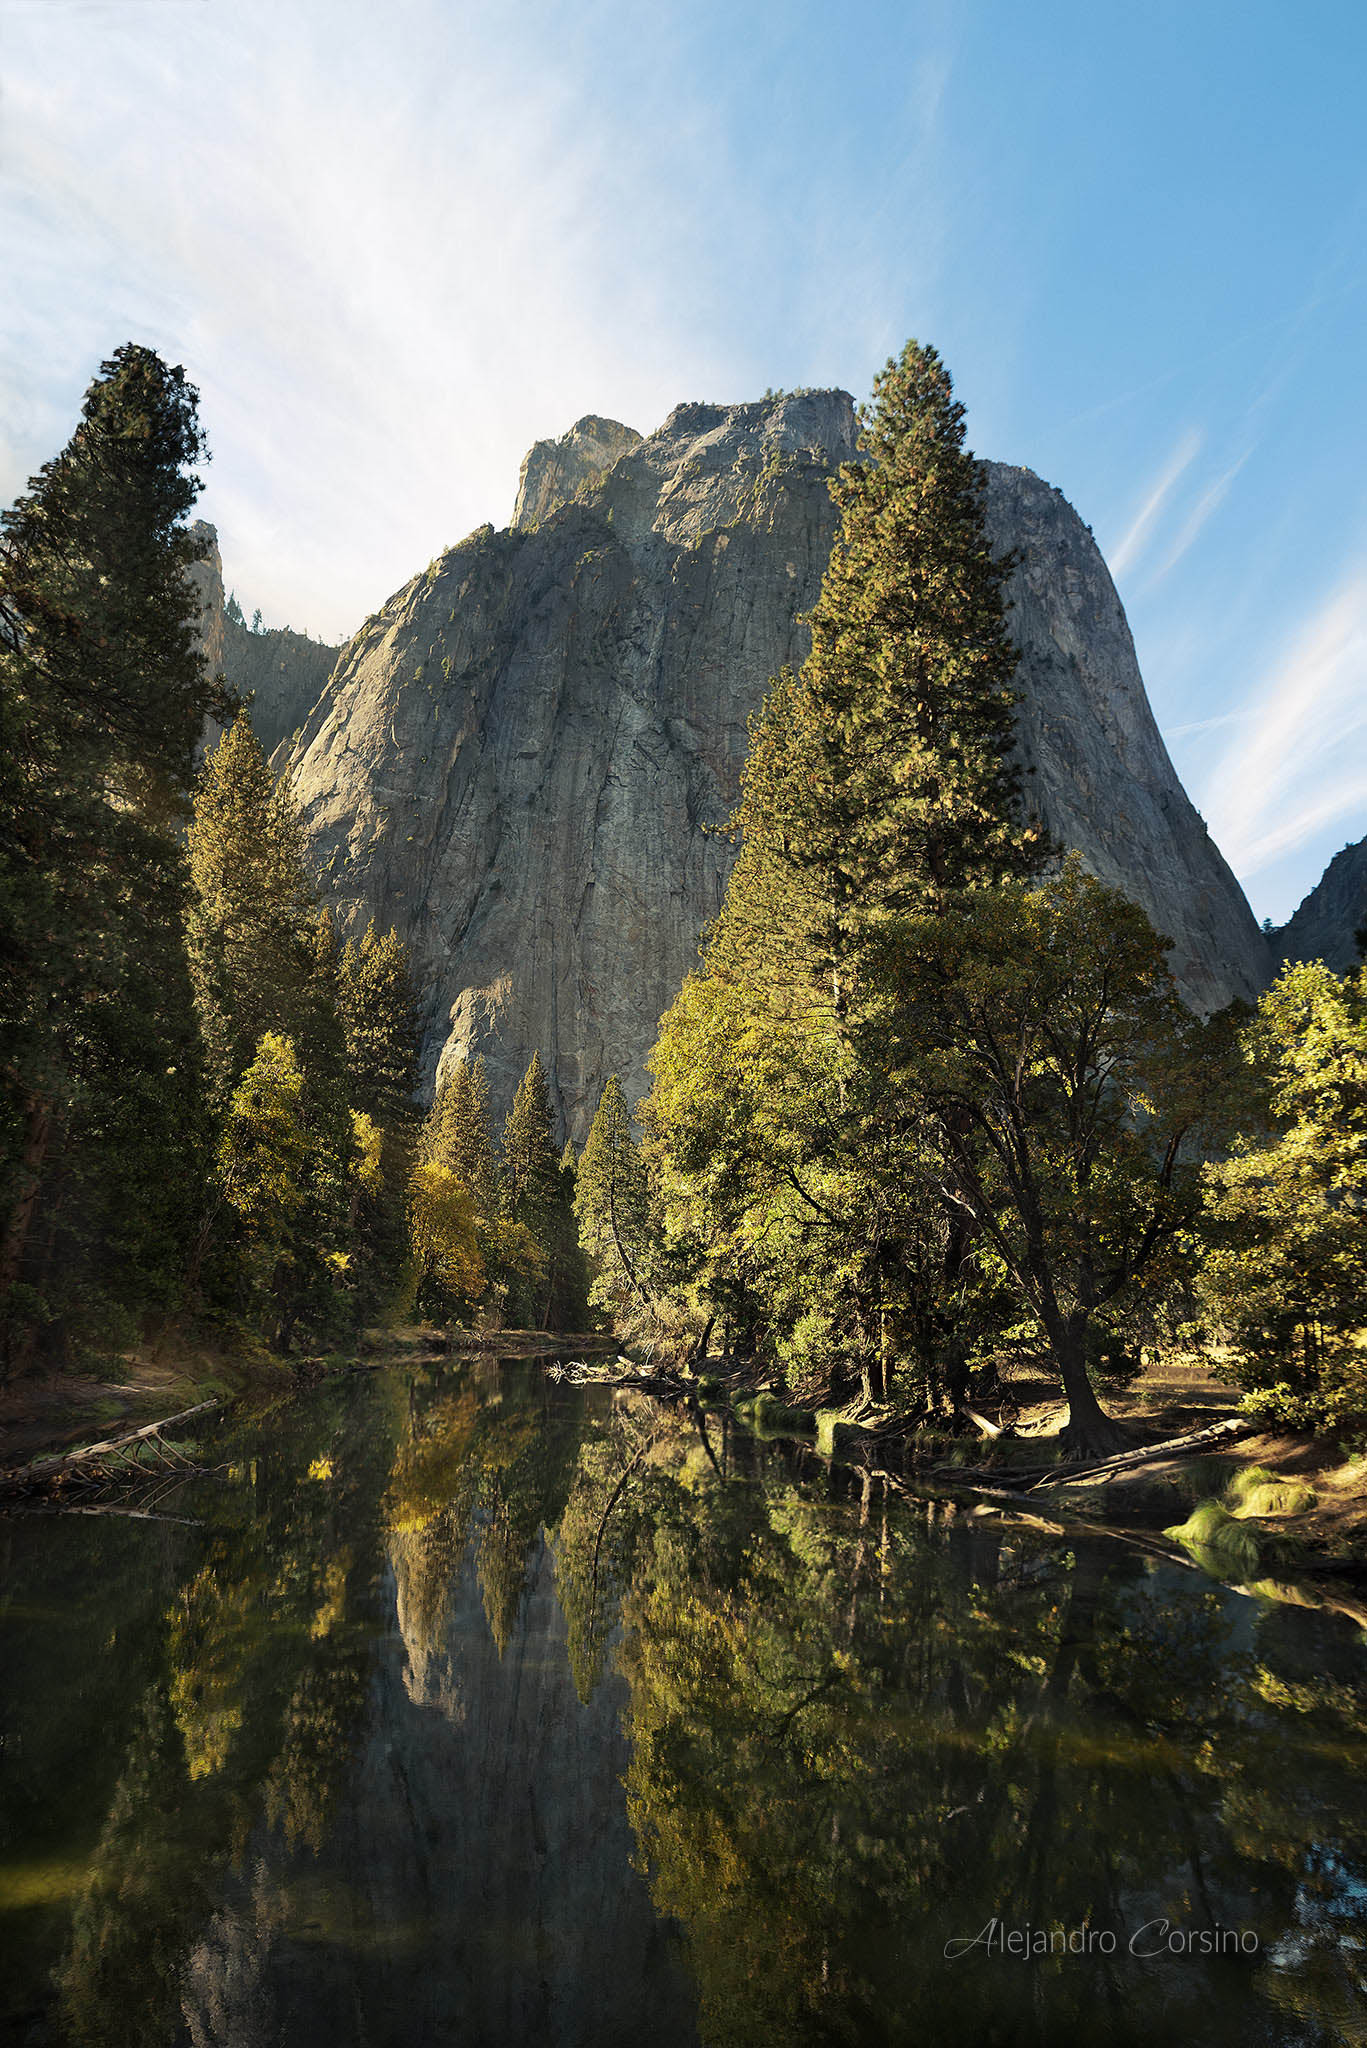
Scenes like this Yosemite view benefit from HDR techniques to maintain detail in both the bright sky and shadowed valley.
Why HDR?
Your eyes have incredible dynamic range. You can see detail in shadows while not being blinded by bright areas. Cameras aren't that capable.
High-contrast scenes force a choice:
- Expose for highlights: Shadows become black
- Expose for shadows: Highlights blow out
HDR captures multiple exposures and combines them, preserving detail throughout the range.
Capturing Brackets
Camera Settings
- Set camera to aperture priority or manual
- Use a tripod (critical for sharp alignment)
- Enable auto-bracketing (AEB)
- Typically shoot 3-5 exposures at 2-stop intervals
Example: Normal exposure, then +2 stops, -2 stops (and optionally +4, -4 for extreme scenes).
What to Bracket
Bracket when:
- Indoor scenes with windows
- Sunrise/sunset landscapes
- Architecture with bright sky
- Any scene where highlights or shadows would be lost
Don't bracket:
- Scenes with moving elements (unless you want ghosting)
- Low-contrast scenes that fit in a single exposure
- When you need to shoot handheld quickly
Merging in Photoshop
HDR Pro
File > Automate > Merge to HDR Pro- Select your bracketed images
- Check "Attempt to Automatically Align Source Images"
- Click OK
The preview shows your merged result.
HDR Pro Settings
Mode: 32-bit preserves all data. 16-bit is more practical.
Remove Ghosts: Enable if anything moved between frames. Photoshop uses one frame as reference.
Preset: Start with "Default" or "Photorealistic" for natural results.
Sliders (for 16-bit output):
- Edge Glow: Keep low or off. This creates halos.
- Tone and Detail: Moderate settings. High values create the "HDR look."
- Color: Usually leave alone. Vibrance can be increased slightly.
The Natural Approach
For realistic results:
- Keep Edge Glow radius and strength minimal
- Don't push Detail above 50%
- Leave Saturation near zero
- Use curves afterward for contrast
Manual HDR Blending
For more control, blend manually:
Layer Masking Method
- Open bracketed exposures as layers in one document
- Align layers:
Edit > Auto-Align Layers - Add layer masks to each
- Paint white on masks to reveal the exposure you want for each area
This gives complete control but takes more time.
Luminosity Masking
Select by brightness:
- Ctrl/Cmd + click on RGB channel (selects highlights)
- Save as selection
- Use to mask adjustments
Repeat with Ctrl/Cmd + Alt/Option + Shift + click on the existing selection to create progressively brighter selections (Lights, Brighter Lights, Brightest).
Invert to get shadow selections.
Apply different exposures to different luminosity ranges.
Post-Processing HDR
Avoiding the Overcooked Look
Watch for:
- Halos around high-contrast edges (reduce clarity/detail)
- Flat, gray shadows (add contrast back)
- Oversaturated colors (desaturate)
- Crunchy textures (reduce clarity/structure)
Keep natural:
- Shadows should still be shadows
- Highlights should still be bright
- Contrast creates depth don't eliminate it entirely
Adding Contrast Back
After HDR processing, the image often looks flat:
- Add a Curves adjustment layer
- Create a gentle S-curve
- Mask out areas where you want to preserve shadow/highlight detail
Local Adjustments
Different areas need different treatment:
- Sky: May need more contrast, saturation
- Shadows: May need lifting, but not too much
- Midtones: Often need the most attention
Use adjustment layers with masks for local control.
Single-Image HDR
Modern cameras capture enough dynamic range that you can often fake HDR from a single RAW file:
-
In Camera Raw/Lightroom:
- Pull Highlights down significantly (-100 is fine)
- Push Shadows up significantly (+100)
- Adjust Whites and Blacks to taste
-
This recovers detail but creates flat images
-
Add contrast back with Tone Curve
Not as effective as true HDR, but works for moderate dynamic range scenes.
When Not to Use HDR
Flat Light
If the scene already has low contrast, HDR makes it look even flatter.
Moving Subjects
People, animals, water, leaves in wind all create ghosting artifacts. Either shoot faster brackets, use deghosting, or skip HDR.
When One Exposure Works
Don't use HDR just because you can. If a single exposure captures the scene, that's usually better.
Creative HDR
Not all HDR needs to be realistic. For artistic effect:
- Push the sliders further
- Embrace the surreal look
- Use on urban/industrial scenes where the effect suits the subject
Just be intentional. Know the difference between "I wanted this look" and "I don't know what I'm doing."
Final Tips
- Bracket more than you think you need
- Use a tripod
- Start with subtle settings, increase only if needed
- Compare to a single exposure is HDR actually helping?
- Step away and look with fresh eyes
HDR should be invisible. The viewer should think "beautiful light" not "nice HDR."