Color Grading Portraits in Photoshop
Color grading transforms a technically correct photo into something with mood and atmosphere. It's the difference between a snapshot and a portrait that makes you feel something.
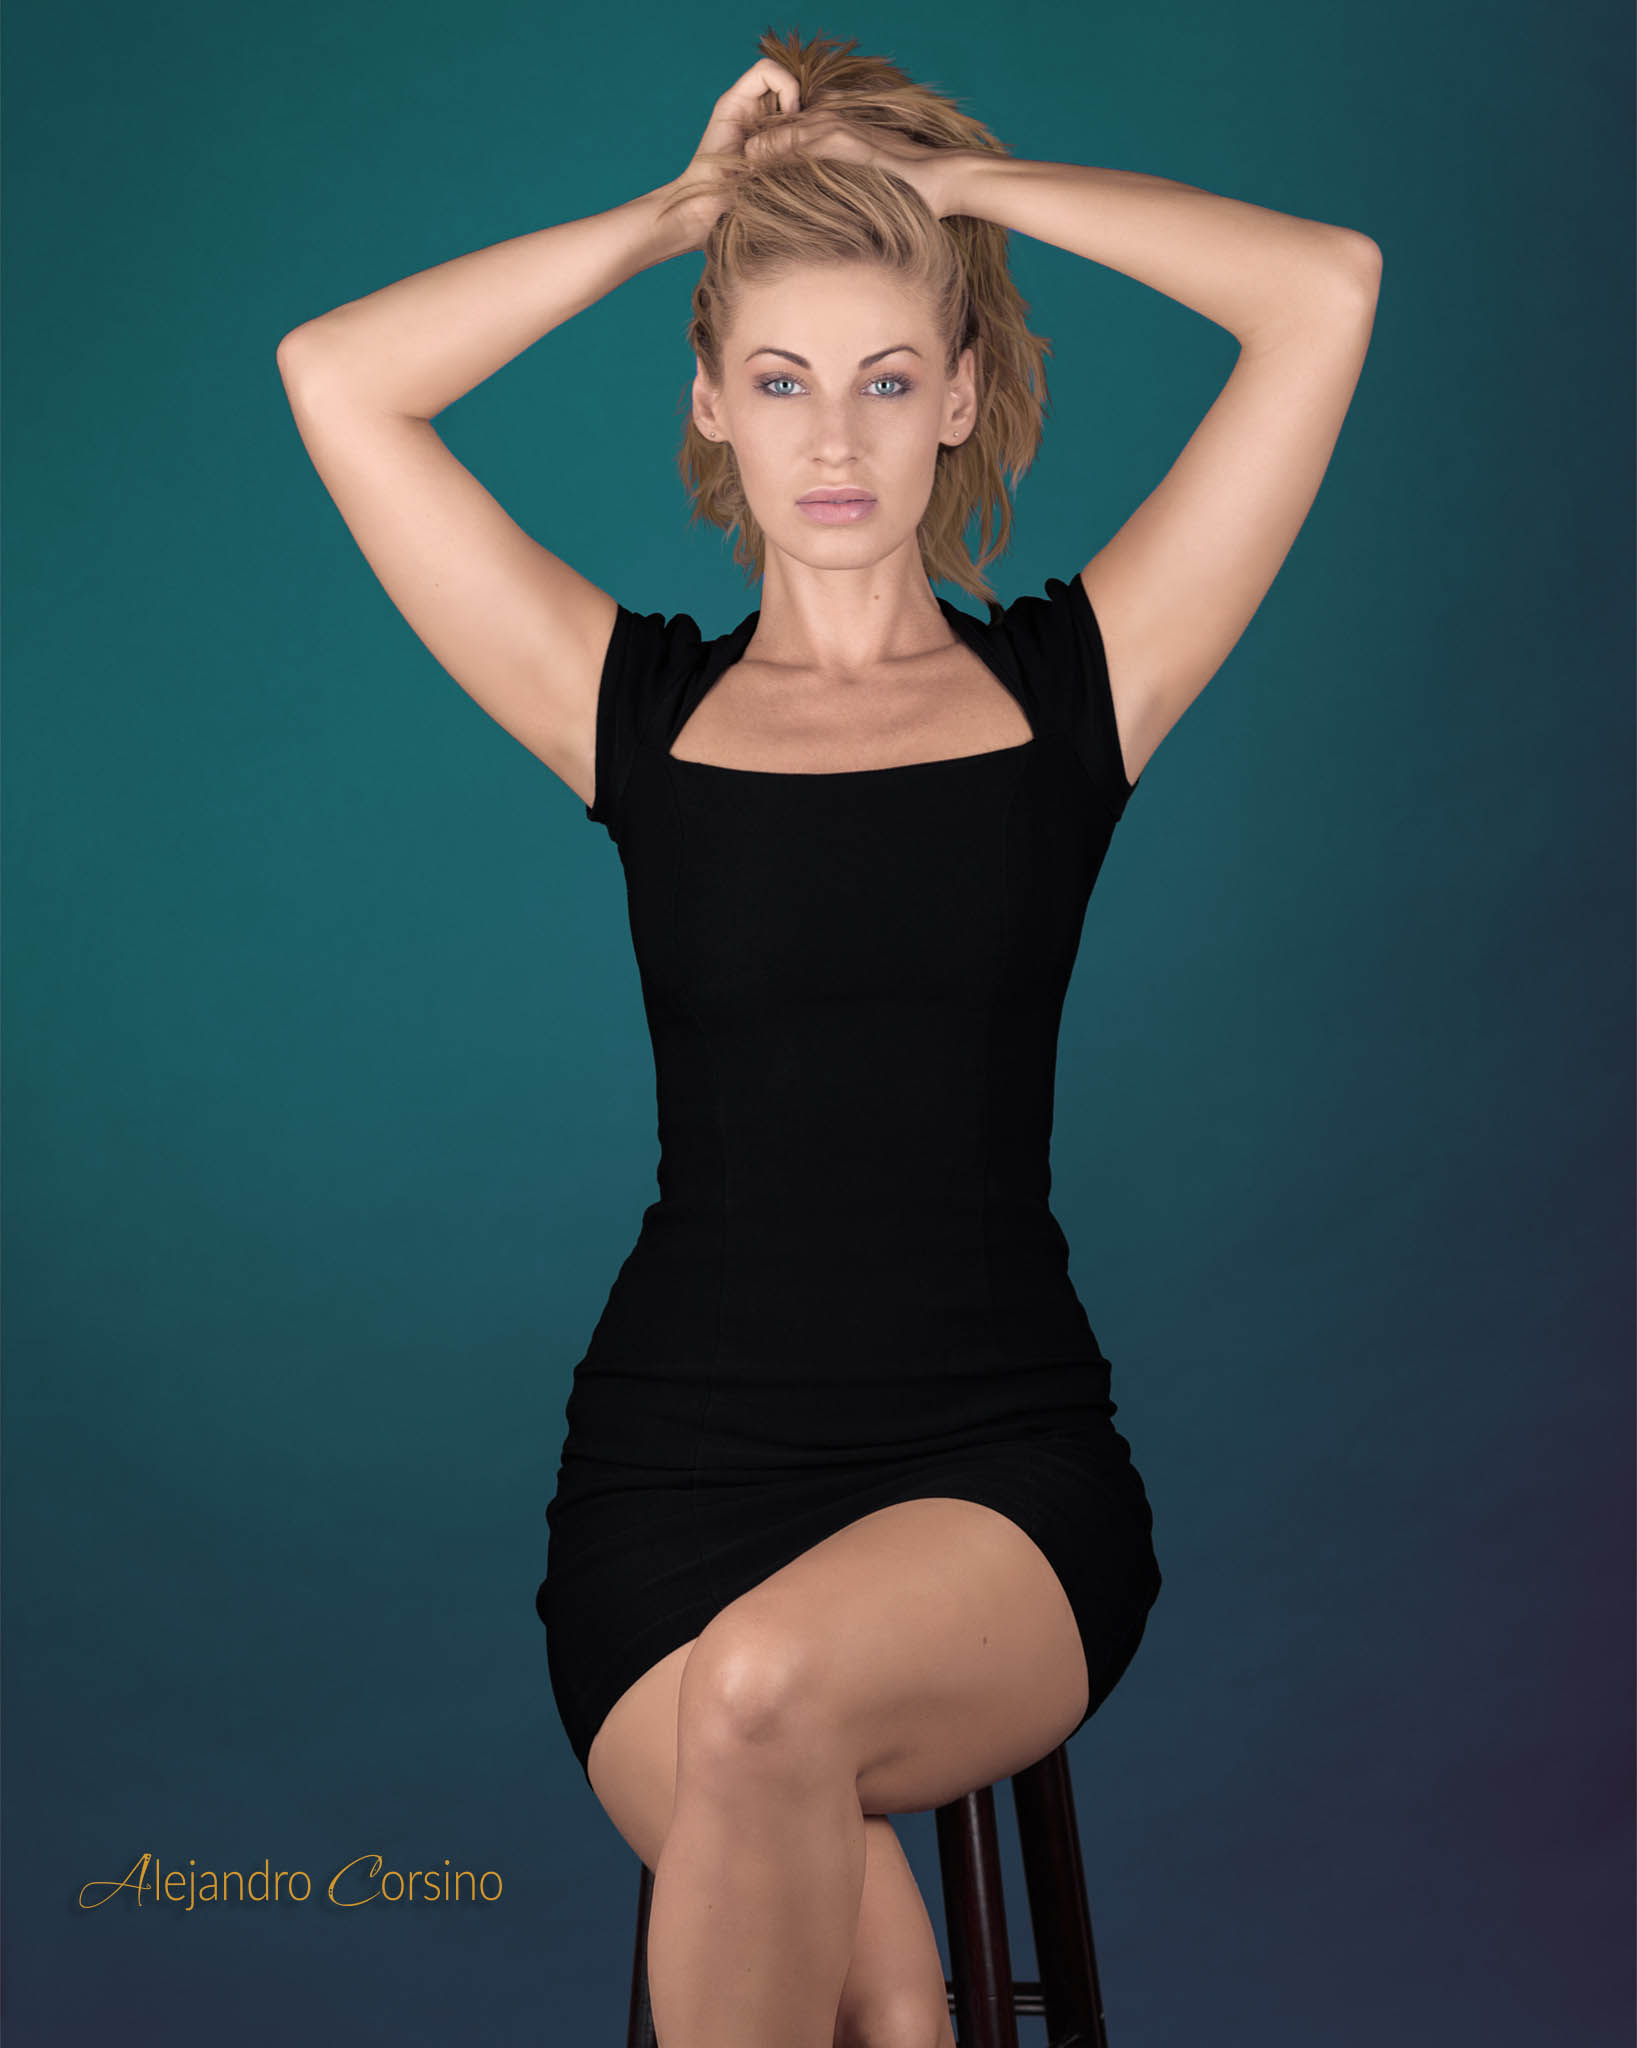
The cyan tones in this portrait demonstrate how color choices create mood.
Understanding Color Theory Basics
Before diving into tools, understand what you're working with:
Complementary colors create contrast and pop: orange/teal, purple/yellow, red/cyan
Analogous colors create harmony: colors next to each other on the color wheel
Split toning adds different colors to shadows and highlights
Most cinematic looks use some variation of these relationships.
The Orange and Teal Look
This ubiquitous look works because skin tones are warm (orange) and pushing backgrounds toward teal creates complementary contrast.
Method 1: Color Balance
- Add a Color Balance adjustment layer
- In Shadows: push toward Cyan and Blue (-15, 0, +10)
- In Highlights: push toward Red and Yellow (+10, 0, -10)
- Adjust to taste
Method 2: Curves with Channels
More precise control:
- Add a Curves adjustment layer
- Select the Blue channel
- Lift shadows (adds blue to darks)
- Lower highlights (adds yellow to brights)
- Do similar adjustments in Red channel if needed
This creates the split-toned look with fine control.
Creating a Moody, Desaturated Look
Popular in editorial and fine art portraiture:
- Add a Hue/Saturation layer, reduce saturation by 20-40%
- Add a Curves layer, lift the black point slightly (creates faded blacks)
- Add a Color Balance layer, cool down the shadows
- Add a subtle vignette with a levels adjustment and mask
The lifted blacks reduce contrast and create that matte film look.
Warm, Golden Hour Feel
Even if you didn't shoot at golden hour:
- Add a Photo Filter adjustment layer
- Choose Warming Filter (85) at 20-30%
- Add a Curves layer
- In the RGB channel, create a subtle S-curve for contrast
- In the Blue channel, lower the highlights slightly (adds warmth)
For more punch, add an orange gradient set to Soft Light at low opacity.
Film Emulation
That analog film look people love:
Lifted Blacks and Crushed Highlights
- Curves adjustment layer
- Lift the bottom-left point (blacks become dark gray)
- Lower the top-right point (whites become light gray)
Color Shifts
Different film stocks had different color biases:
- Kodak Portra: Warm skin tones, cyan shadows
- Fuji 400H: Slightly green midtones, pastel feel
- Kodak Ektar: High saturation, punchy colors
- CineStill 800T: Tungsten balance, halation effects
Recreate these with selective color and color balance adjustments.
Grain
Add realistic grain last:
- Create a new layer, fill with 50% gray
- Convert to Smart Object
- Add noise (Gaussian, Monochromatic, 3-5%)
- Set blend mode to Overlay or Soft Light
- Reduce opacity to taste (usually 20-40%)
Using LUTs (Look Up Tables)
LUTs apply pre-made color grades instantly:
- Add a Color Lookup adjustment layer
- Load a .cube or .3dl LUT file
- Reduce opacity if the effect is too strong
LUTs are great starting points, but always adjust them for your specific image.
Selective Color Grading
Target specific colors for precise control:
- Add a Selective Color adjustment layer
- Choose a color (e.g., Reds for skin)
- Adjust the CMYK sliders
Common adjustments:
- Reduce yellow in reds to cool down skin
- Add cyan to greens to make foliage more teal
- Add magenta to blues to make sky more purple
Luminosity Masking for Grading
Apply different grades to different tonal ranges:
- Create a luminosity selection (Ctrl/Cmd + click RGB channel)
- Add adjustment layer (it automatically masks to highlights)
- Invert the mask for shadows
- Feather and adjust as needed
This lets you warm the highlights while cooling the shadows with precision.
Working Non-Destructively
Always use adjustment layers. Benefits:
- Change settings anytime
- Adjust opacity
- Use blend modes
- Apply masks for selective effects
- Easy before/after comparisons
Group your color grading layers and toggle visibility to compare.
Developing Your Style
Color grading is subjective. Find your voice:
- Study photographers and cinematographers you admire
- Analyze what makes their color distinctive
- Experiment and take risks
- Build a library of your favorite grades
- Stay consistent within a project
Your color grading becomes part of your signature style. It's worth investing time to develop.
Final Tip
Step away from the screen regularly. After staring at an image too long, you lose perspective. Come back with fresh eyes before finalizing your grade.
What looks dramatic on a calibrated monitor might look garish on a phone screen. Check your work on different devices.